Monday, November 27, 2017

Getting into the hobby - Building your dedicated hobby space

A very important part of this hobby's aspect is the hobby space. At first a desk or the kitchen table will suffice, but after a while your collection will grow, you will have more tools and paints at your disposal and you will need to create a dedicated hobby space.

I started out on a small desk, then I got a bigger one and then I just filled it up with paints, miniatures and tools. Recently I found an online store which sells hobby items like paint racks and some sweet modular workshop system. I ordered some items from them and I have to tell you, I got them from Poland after 5 days, including the weekend!

So this is how my desk looked before:


As I wrote, I ordered several modular paint racks from HobbyZone. The fun part of this was the assembly. I only needed some PVA glue and a hammer. I just followed the instructions, the racks were put together with ease. The parts fit perfectly, I only screwed up once with the magnets.


Then I got to organize my stuff around the racks. I choose to organize my paints by type and alphabetically - shades, base paints, layer paints, texture and dry paints.


The additional rack of the tools/brushes proved to be a good addition. As you can see I filled all the spaces with the paint pots, I even had a few remaining orphan! Overall I can wholeheartedly recommend HobbyZone. They provide a good choice in building a dedicated hobby space.


Getting into the hobby - First Steps

First when I started collecting miniatures I wasn't quite sure on what I needed to get into the hobby, besides buying miniatures. Getting into and out it is easy, maintaining your hobby is the hardest part. I decided to make an entry about getting into this hobby, helping out new comrades that would like to venture and explore into the world of miniatures.

Picking a line of miniatures

There are a ton of manufacturers to choose from. Even those manufacturers have a lot of different lines of miniatures. I will mention the most popular ones, so it would help you to explore a bit and also give you an overall idea about them:
  • Games Workshop - Warhammer 40,000 - Grim-dark Gothic Sci-fi. Best miniatures out on the market. After a lot of controversy, they changed a lot in the past year. Price-wise you pay for the quality. There are some ways to get 40k miniatures cheaper, but it will still hurt your wallet.
  • Games Workshop - Age of Sigmar - Fantasy. Fantasy as before they killed it and revamped it with Age of Sigmar. They made some new miniatures, but they look like Space Marines. Most of it is older, but some of them still look good.
  • Fantasy Flight Games - I won't go into every miniature game they have, they release games and miniatures faster then I can type. Star Wars X-Wing and Armada are their most popular ones. Quality wise they are sub-par compared to Games Workshop. Price was cheaper, but they will still empty your pocket with expansions.
  • Privateer Press - Initially started as an alternative to GW, but they produce unique miniatures. They started off with metal miniatures, but they ventured into plastic and resin as well. Quality and price wise they are OK, better then FFG but still not on the same level as GW.

Choosing your first army


I would go for the army you like the best. It has to be visually appealing to you, otherwise you will not paint them. Trust me, I know. If you don't have any experience painting anything, I would recommend to go for armies that are easy to paint - a lot of flat surfaces, easy color schemes, less details on them. If you plan on playing with them, go for an army that doesn't require a lot of miniatures.

If you plan to go into Warhammer 40,000 I would recommend Space Marines. If you plan to go into Age of Sigmar I would say go for Stormcast Eternals. X-Wing and Armada comes with pre-painted miniatures, which means they are playable out of the box!

Buying your first kit

A lot of newer collectors/player make the mistake to buy a large quantity of miniatures on their first purchase. I would never recommend to go for more then the necessary basics. For ex. in AoS or 40k, you need a "general/warlord" to lead your army and some basic troops. Games Workshop has some Start Collecting! boxes which contain one HQ unit (most of them at least) and some elite/fast attack/troop choices. The bundle itself is a great deal, as it will save you some money if not bought separately.

Where to buy

I would never recommend to buy directly from GW, only if you are interested in Web Exclusive items. Usually retailers and FLGS will give you a nice discount for miniature kits. I usually buy kits, tools and paints from my FLGS. Of course there are plenty of others to choose from.

Buying tools

Now you bought your first kit, congratulations! You are officially in the miniature hobby! Now you will need some proper tools to assemble the miniatures.
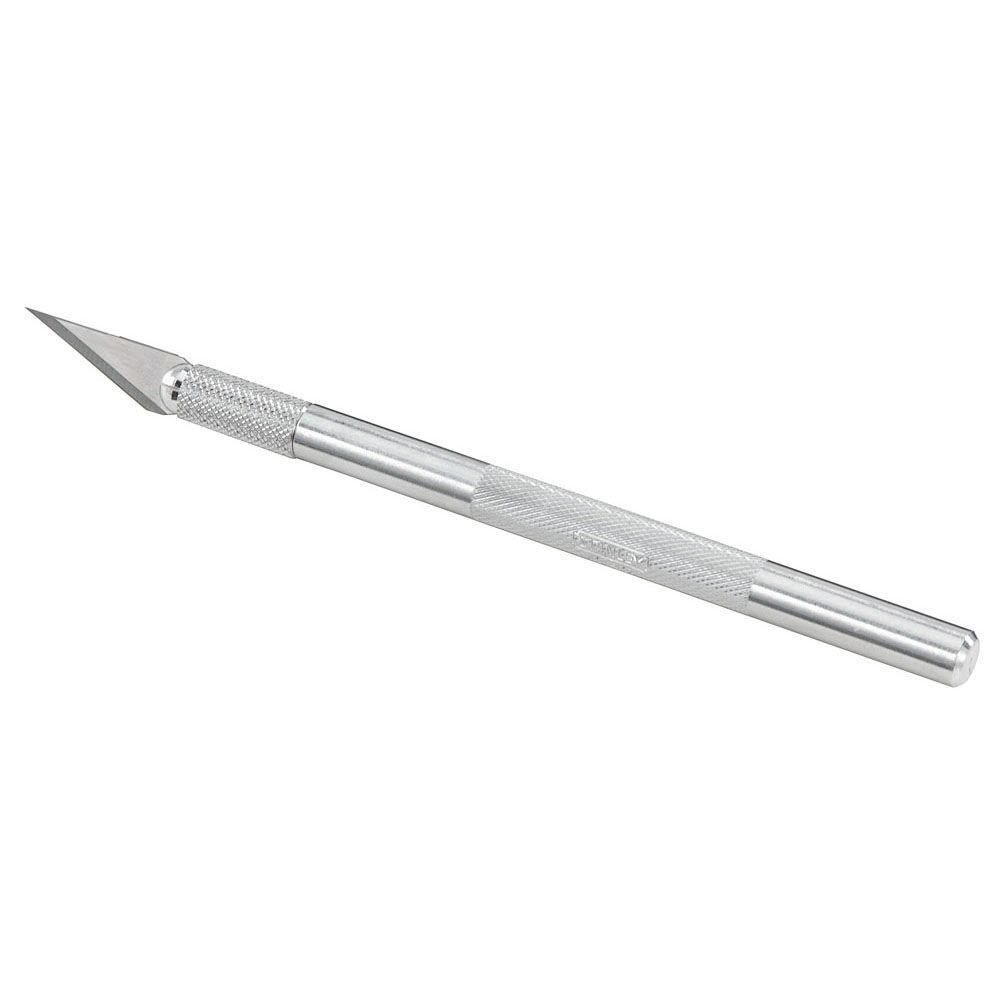
First you will need cutting tools. For starters a hobby knife. Yes, any kind of hobby knife will suffice. Go for the cheapest one.

Image result for hobby knife
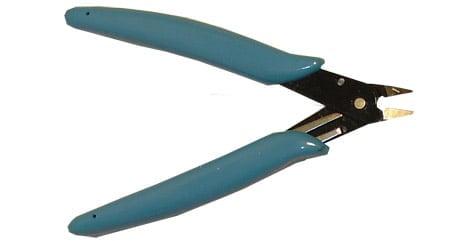
Next you will need something to cut the miniatures out from their sprues. Just pick up a cutter which has a flat side.

Image result for hobby cutter

You can find these tools virtually everywhere.
Now you will need a glue to put all the parts together. A lot of new (and old) hobbyist will use super-glue for plastic parts. Personally I use plastic glue which melts the parts together. I genuinely avoid using super-glue as it won't melt plastic and will only harden the glued parts of the miniature. Eventually this will cause the glued parts to break off. Also super glue tends to flow every where, and will cause some unwanted lumps on the miniature. Just go to a hobby store and pick up some plastic glue. You won't regret it.

Image result for plastic glue

At the beginning this is all you need to start assembling your miniatures! However I would also recommend to buy a cutting mat. This will help you to protect your desk/table.

Image result for cutting mat

Tuesday, November 21, 2017

Painting Spirit Hosts

As I mentioned in a previous post I got my hands on some cheap second-hand miniatures. Overall they were in good shape, but the most important part was that I didn't had to strip the paint off, since they were unpainted. But they still needed some fix, I glued them together and bought some (overpriced) GW 50mm round bases, as the original bases were some cheap knock-offs.

So as per usual, I primed them in Corax White, base-coated them with Celestra Grey. I covered all of the miniatures with Nihilakh Oxide, just you would do with a shade. Then I went for 2 variants:
1. The first one was covered entirely with a mix of Lahmian Medium and Coelia Greenshade 1:1. It took less time, and the result was ok.


2. The second and third ones were shaded with Coelia Greenshade, but only the recessed parts. It took way more longer, but the end result were far better.


I dry brushed the miniatures with Celestra Grey, followed by Ulthuan Grey. I added to some of the recessed parts Waywatcher Green for some extra effects.

I added some plaster pieces to serve as broken off gravestones.  I added Armaggedon Dust to the base, and followed the usual steps to base the miniatures. I painted the stone with Mechanicus Standard Grey, shaded with Nuln oil, dry-brushed with Administratum Grey and a light dry-brush of Ulthuan Grey. I added with PVA glue some parched grass to it from Galeforce 9. Very easy miniatures to paint, highly recommend them for beginners.


Assembling and Painting Necromancer

I got this sweet Necromancer from my LFGS' manager, Raul as a gift. Assembling this miniature is a no-brainer, even the base is on sprue. As usual I primed the model with Corax White. I added the base colors:

  • to the robe's upper part Incubi Darkness and to the lower part Celestra Grey
  • to the staff Mournfang Brown
  • to the skin and bones Rakarth Flesh


I created a mix of Lahmian Medium and Nuln Oil, 3:1. I added approximately 10 layers, gradually to the upper part of the cloak. Then I mixed Lahmian Medium with Coelia Greenshade, again to 3:1 and added about 15 layers to create a gradient color. 


I shaded the skin with a mix of Druchi Violet and Lahmian Medium, roughly equally. For the bones and staff I used Agrax Earthshade. After this I started to highlight the robe with Kabalite Green on the upper parts, Sybarite Green on the mid section and Ulthuan Grey on the lower parts. For the skin and parchment I used the dreaded Pallid Wych Flesh (I hate it as much as I hate White Scar). I highlighted the staff with Pallid Wych Flesh to further torture myself, and the skulls as well. For the little pouch I used the standard paints for leather.


 I painted his hair with Chaos Black, and highlighted it with Eshin Grey. I painted his eyes with Moot Green and added a bit of Waywatcher Green around it. The base was painted using Zandri Dust, Agrax Earthshade and a dry brush of Tyrant Skull, and around the base I used Steel Legion Drab as per usual.


Painting Cairn Wraith

I got a used Cairn Wraith and a set of Spirit Hosts very cheap, unpainted which was an added bonus. All of them were in good shapes, however the Spirit Hosts still needed to be glued together again, since they were assembled with super glue, which tends to break off. I also changed their bases, since they came with some cheap ones, which were a bit smaller and shorter.


I primed the miniature using Corax White, and then base-coated the upper part with Incubi Darkness and the mid-to-lower part with Celestra Grey. Then I mixed Lahmian Medium with Coelia Greenshade to a ratio of 3:1. I added approximately 10 layers to have a really smooth transition between the green and the grey. After that I started highlighting the upper part with Kabalite Green and Sybarite Green, and the lower part with Ulthuan Grey. On the cloak's rim, I also added a layer of Waywatcher Green.


For the scythe I used Ironbreaker and then added Waywatcher Green and in some of the recessed part Nihilakh Oxide.


For the base I glued together some extra skulls from the Skeleton Warriors and then base-coated them in Zandri Dust. Then I added Armageddon Dust all around the base and shaded the entire base with Agrax Earthshade. I dry brushed the dusty parts with Tyrant Skull and then I highlighted the skulls with Ushabti Bone and Screaming Skull. For the stone I used Mechanicus Standard Grey for base coat, Eshin Grey and Administratum Grey for highlights. Then I PVA glued some Citadel Grass on the base. I finished the base by painting it all around in Steel Legion Drab.


Monday, November 20, 2017

Assembling and Painting Arkhan the Black - Part 2

So it has been a long time since I posted anything, but rest be assured, I kept on painting my Deathrattle Skeletons.

Since then I completely finished painting up Arkhan, but I will go through briefly on the whole painting/assembly process after Part 1.

After painting the sub-assemblies, I carefully glued together all Razarak's body.


I created two more sub-assemblies:

  1. The head: I followed the same process as for the bone parts, the teeth and horn were base-coated using Chaos Black. Then I started lightly picking of edges and details with Fenrisian Grey and Russ Grey. I painted the eyes using a layer of Warpstone Glow and a tiny hint of Moot Green. I used Waywatcher Green to created a subtle glow effect.

  1. The armor plating: I base-coated the plates with Naggaroth Night, and shaded the recessed parts with a mix of Nuln Oil and Druchi Violet. I higlighted the edges using Fenrisian Grey and Russ Grey, with more focus on the sharper parts. For the gold parts I used for a base coat Balthasar Gold, shaded it with Agrax Earthshade and highlighted with Gehenna's Gold. The bone parts were painted just as the bones in Part 1.

  1. The saddle: I basecoated the lower part with Chaos Black and the upper part with Rhinox Hide. The black was highlighted with Eshin Grey and Skavenblight Dinge, while the brown area with Tuskgor Fur.
After this I started working on the Spirit Hosts beneath Razarak, since they are supporting it. I had some minor issues assembling it, but nothing will overcome some improvisation skills.


The upper-most spirit was designed very poorly, as it is too long and its center of mass is way too in the front so it just kept breaking off. If you check GW's website, you can actually see the painters overcome this by shortening the Spirit Host's body. (Sneaky bastards)
Long story short, this is the easiest part. I base-coated the spirits using Celestra Grey. I made a mixture of Coelia Greenshade and Lahmian Medium 1:1. I washed their entire body, after which I drybrushed them using Celestra Grey again. I highlighted some of the sharper parts with Ulthuan Grey, and added a nice glowing green effect with Waywatcher Green.

Before I assembled everything, first I finished the base of the miniature. Usually this would be the last step, but in this case I finished painting the base and then I glued the model down.


When I ordered the kit through my LFGS, GW actually forget to send it, so my store's manager, Raul stepped in and explained to them that I wouldn't get it in time for Christmas and this WAS my present (to myself). So they decided to send it with courier and add a little bonus - a Large Basing Kit. Nice!

I selected my pieces from the sprue and glued them down. I primed them using Imperial Primer, and base coated them with Incubi Darkness, respectively the golden parts using the steps described above. I dry-brushed the plates with Kabalite Green and Sybarite Green. I highlighted the edges using Kabalite Green, Sybarite Green and Ulthuan Grey.

After this, I used Armageddon Dust to create a wasteland-like terrain. I shaded it with Agrax Earthshade and dry-brushed it with Tyrant's Skull. I added some Citadel Grass to it, I used PVA glue for this step. I also used some bits and pieces from the Skeleton Warriors, just to add a little more detail to the base.

After all this, Razarak, the Spirit Hosts and the base was done. All it was just missing was Arkhan. Not a big deal!


In the next and final part I will go through on how I painted Arkhan the Black.